고객이 구매 결정을 내리는 데 도움이 될 자세한 정보를 보려면 접을 수 있는 탭을 사용하세요.
예: 배송 및 반품 정책, 사이즈 가이드, 기타 일반적인 질문.
사이즈표
일반 권장사항
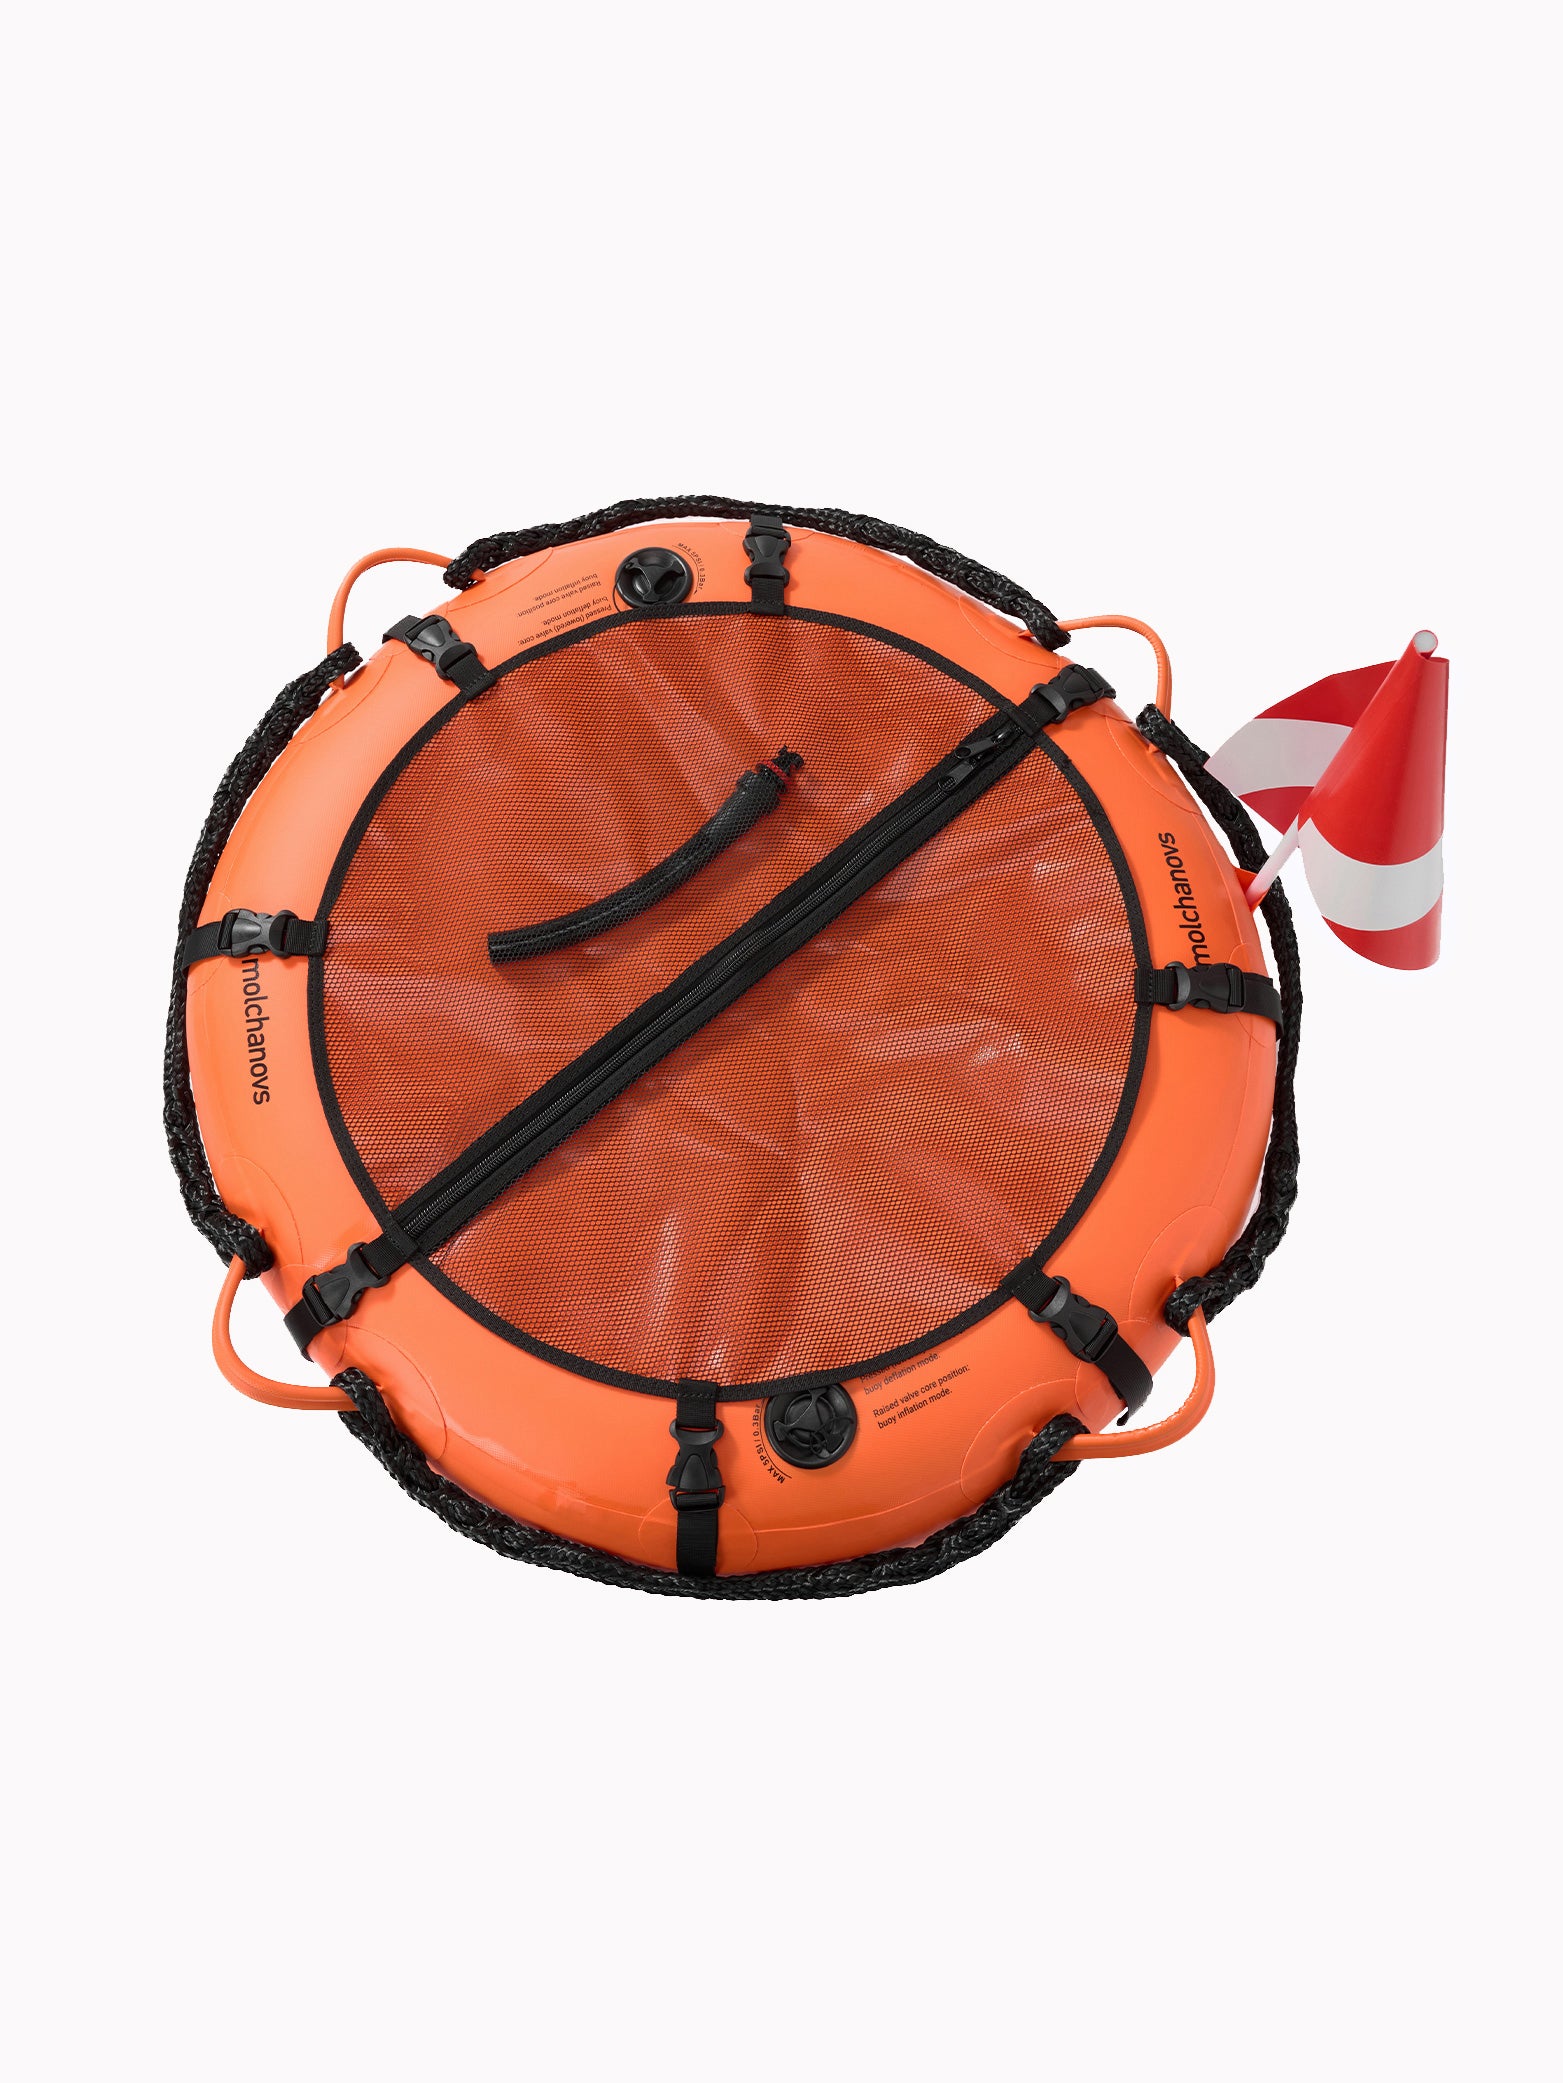
80cm PRO 프리다이빙 부표는 5명이 편안하게 다이빙하는 데 적합합니다. 숫자는 프리다이버의 크기와 무게, 사용하는 로프의 길이, 다이빙 중 사용하는 추가 장비의 양에 따라 달라질 수 있습니다. 안전상의 이유로 한 강사가 심층 교육 세션 동안 최대 4명의 학생을 가르칠 수 있다는 점을 기억하십시오.PRO 프리다이빙 부표를 안전하게 설치하려면
- 다이빙을 할 때마다 부표, 로프, D링에 육안으로 손상된 부분이 있는지 검사하십시오.
- 로프의 부표 끝을 부표 내부 고리에 삽입하고 줄의 다른 쪽 끝을 D링의 카라비너를 통해 삽입합니다. 도르래 시스템(강력 권장)을 사용하는 경우 도르래 시스템을 D링의 카라비너에 직접 연결할 수 있습니다.
- 적절한 매듭(예: 물 볼린)이나 카라비너를 사용하여 바닥 추를 로프에 연결합니다.
- 도르래 시스템을 사용하는 경우 7단계로 건너뛰십시오. 짧은 로프 대신 카라비너를 사용하여 도르래 시스템을 부표의 D링에 부착하는 것이 좋습니다.
- 카라비너 및/또는 적절한 매듭을 사용하여 부표 아래에 바닥 추를 부착합니다.
- 목표 수심에 클로브 히치로 다이브 라인을 부착합니다.
- 플로트에서 라인을 꺼내십시오.
- 다이빙 장소를 주의 깊게 검사하십시오. 물 속에 다이버가 있는 경우, 다이버가 헤엄쳐 나갈 때까지 기다렸다가 바텀 웨이트가 부착된 라인을 천천히 풀어줍니다.
General recommendations
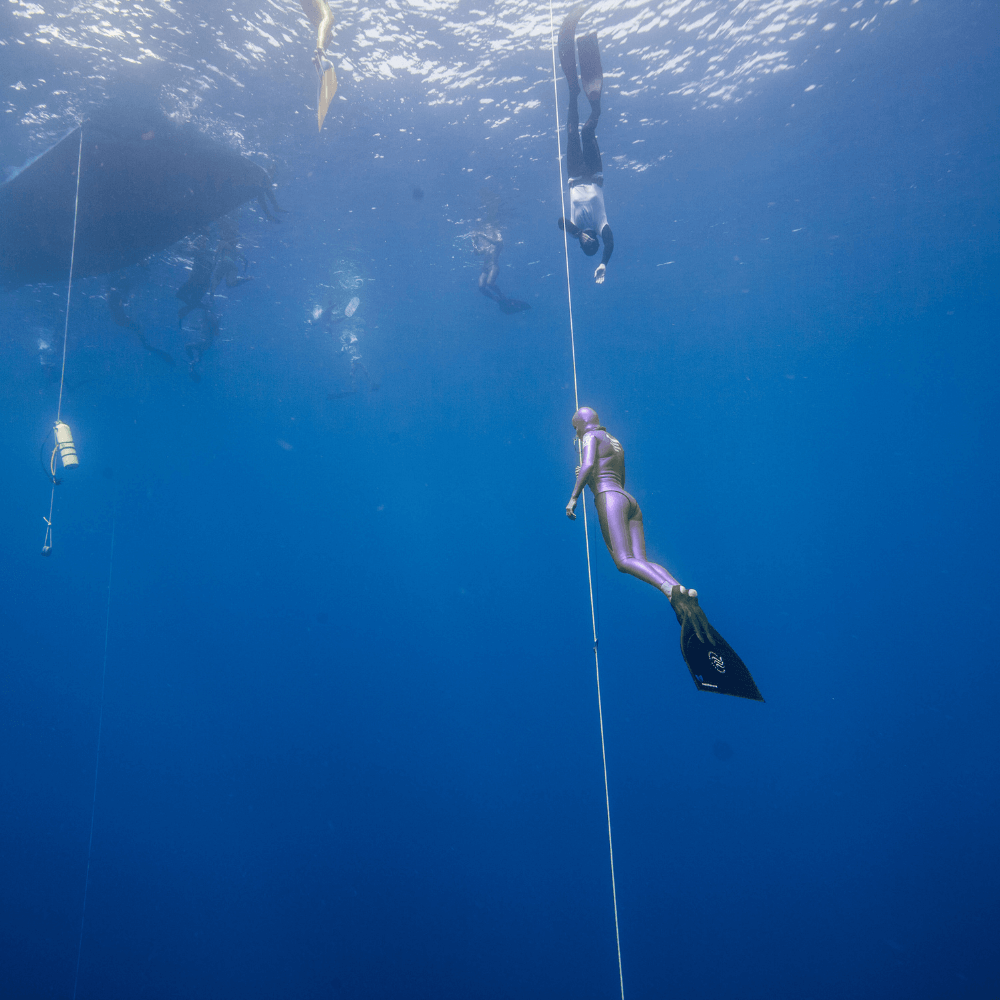
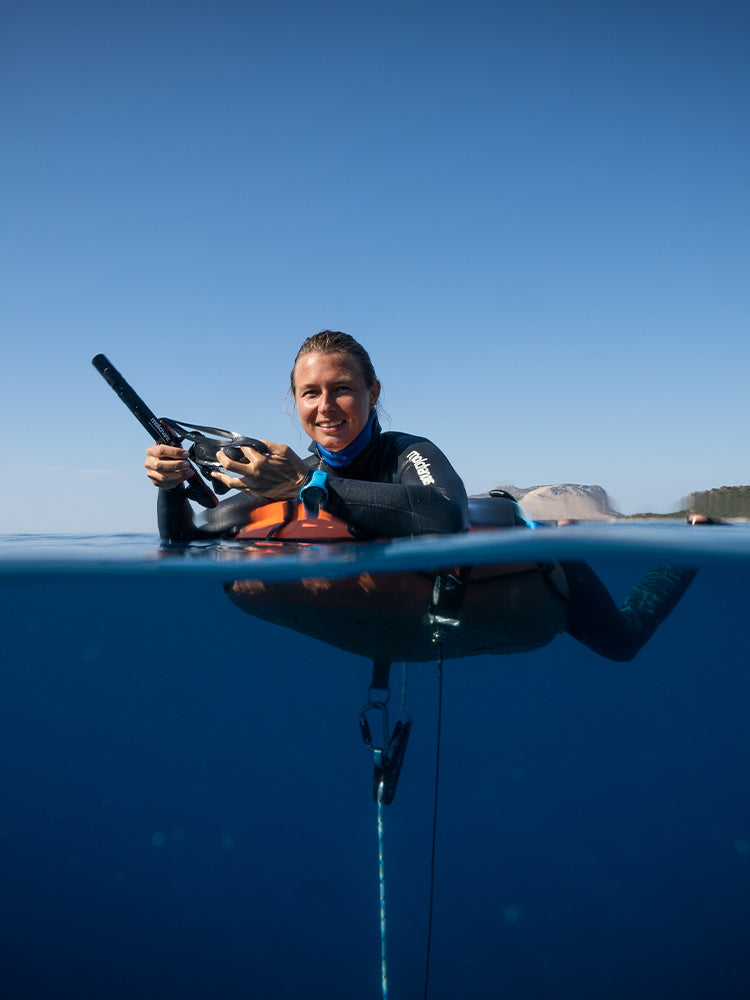
The 80cm PRO Freediving Buoy is appropriate for comfortable diving for 4 - 6 people. The number can differ depending on the size and weight of freedivers, the length of the rope they use, and the amount of additional gear they use during their dive. For safety reasons, remember that one instructor may have a maximum of 4 students during a depth training session.
What’s included
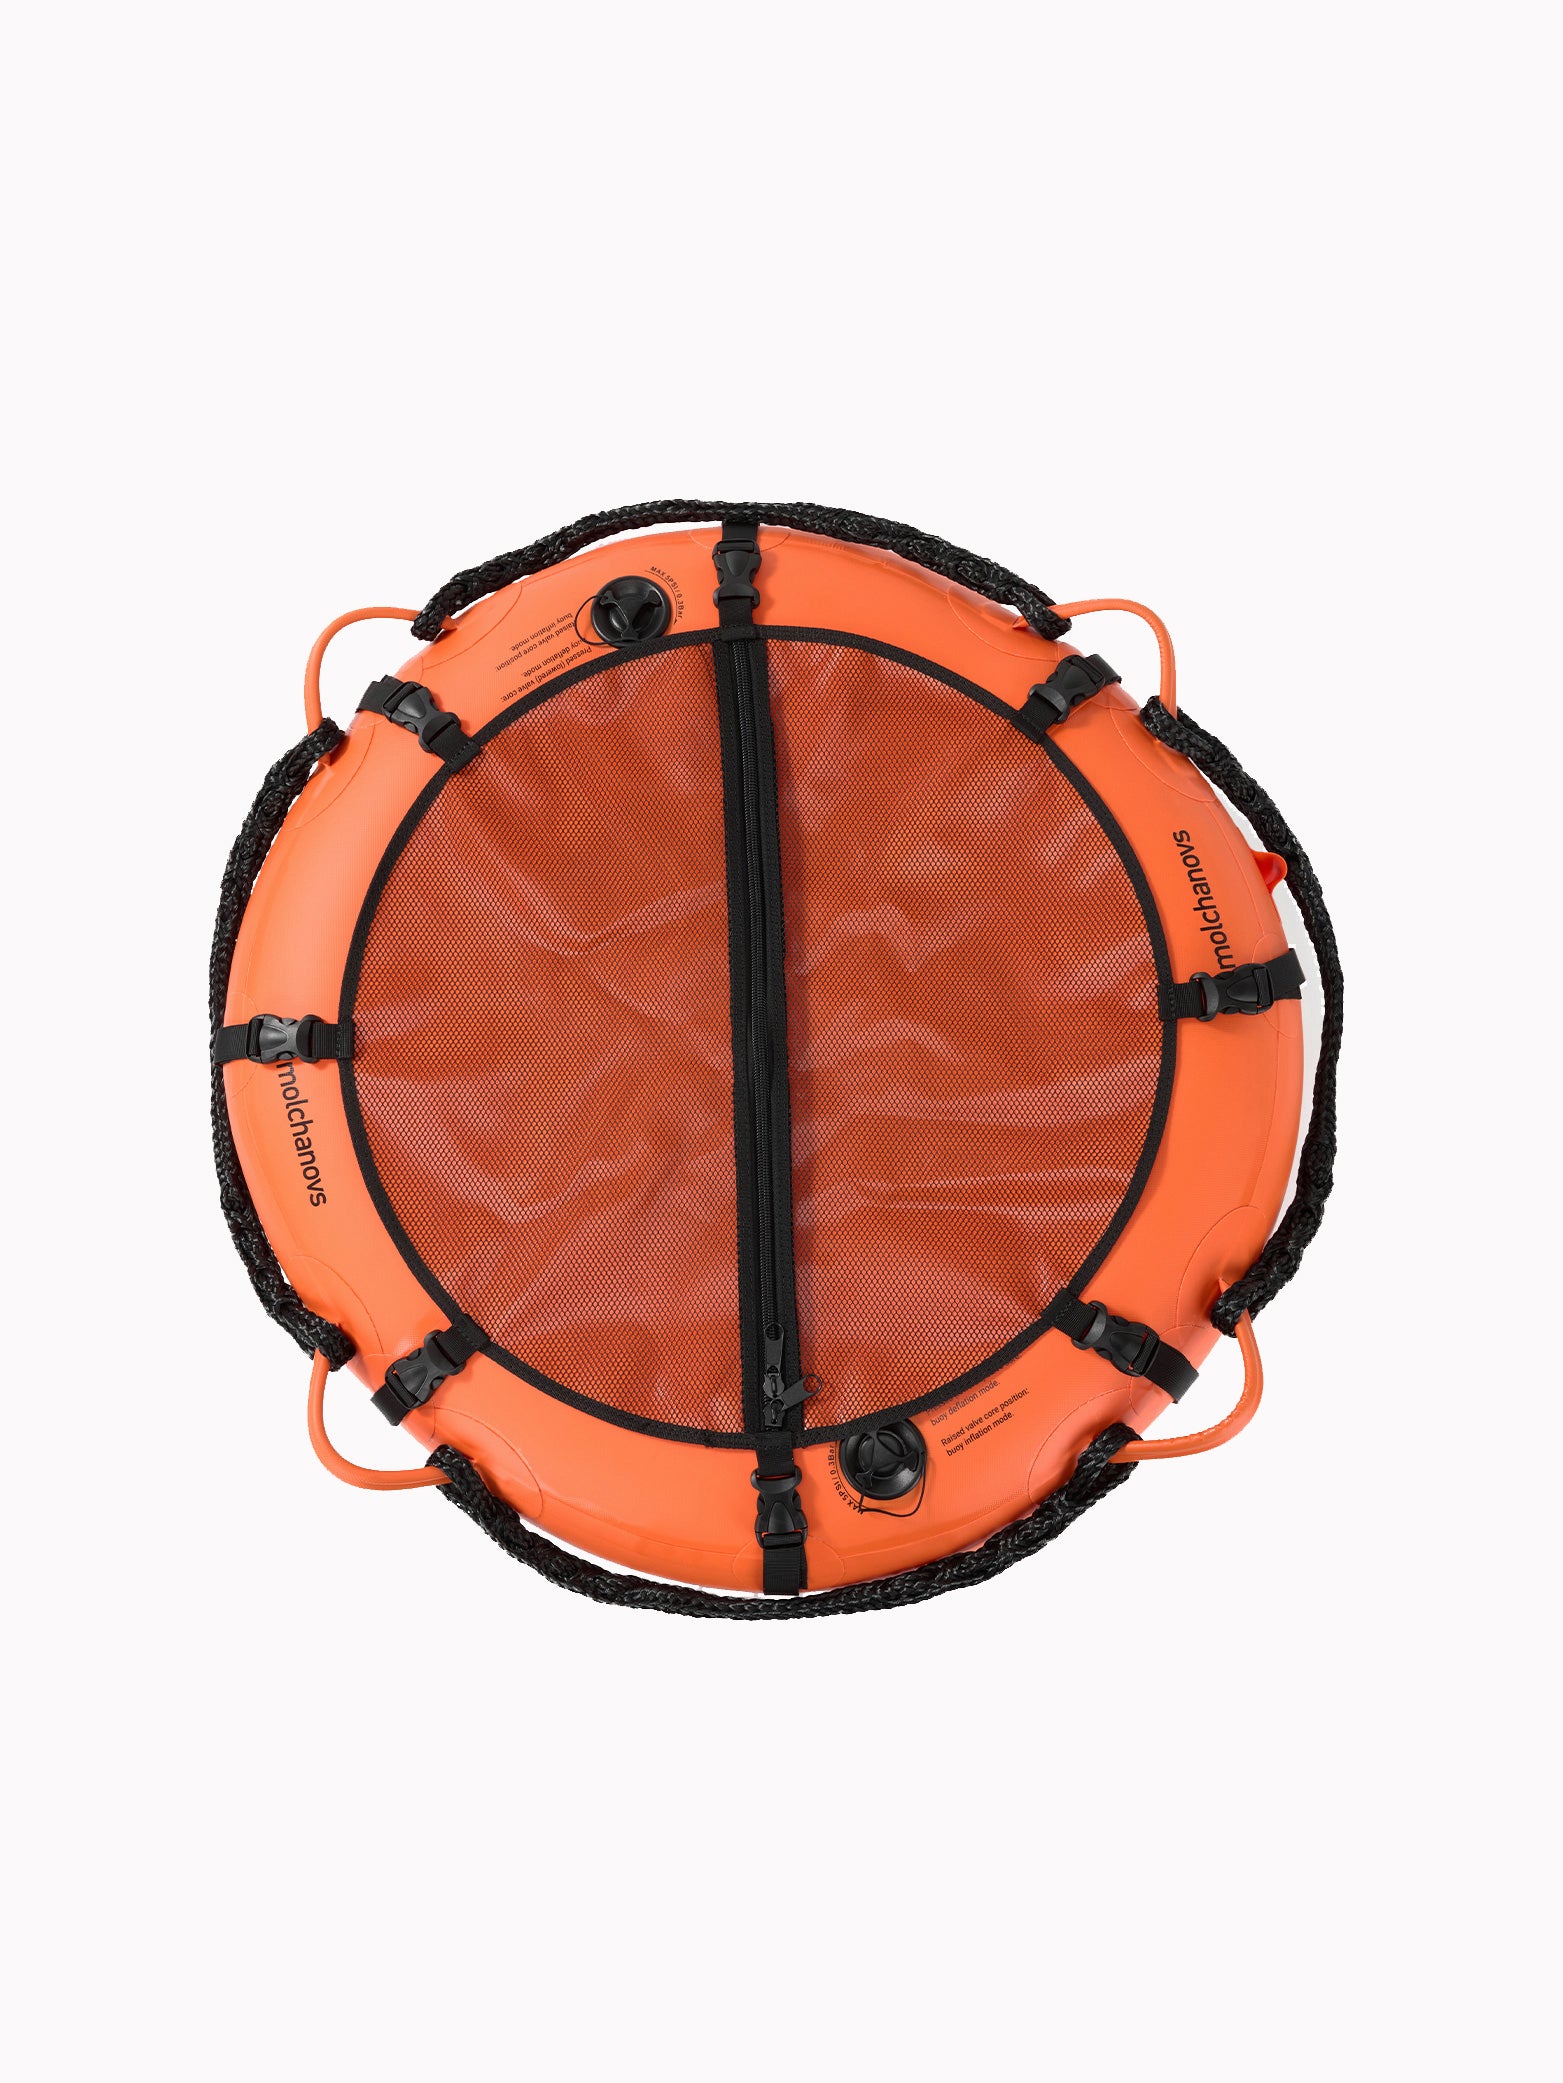
The PRO Freediving Buoy includes the following:
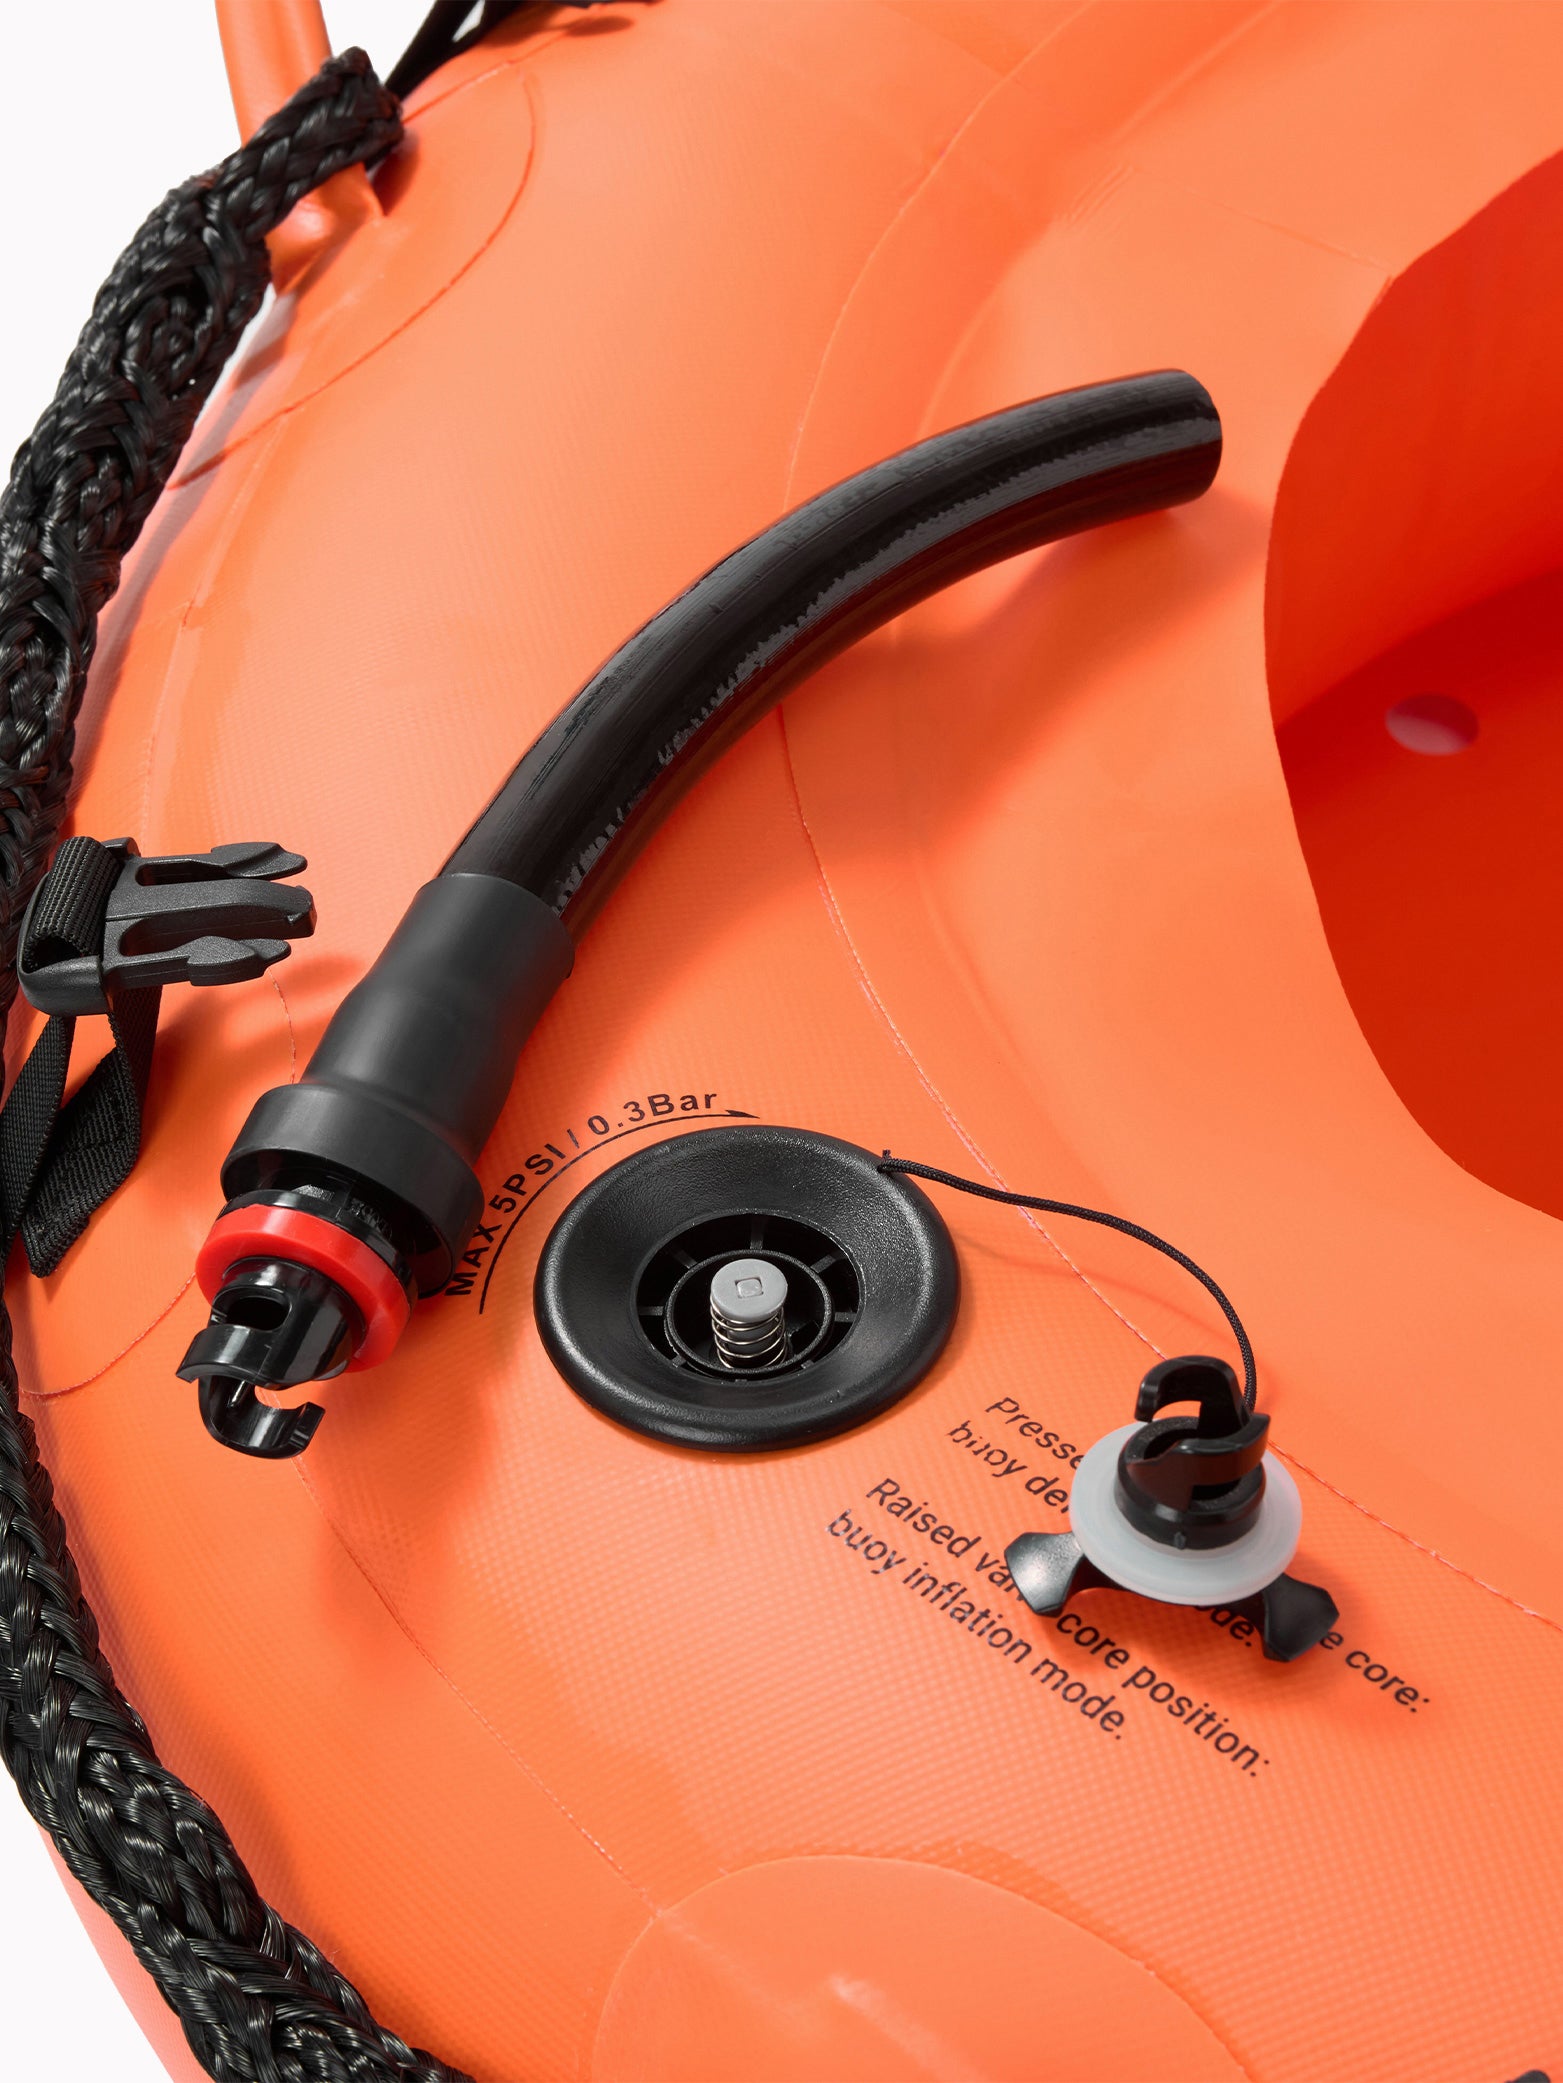
◦ Inflator tube
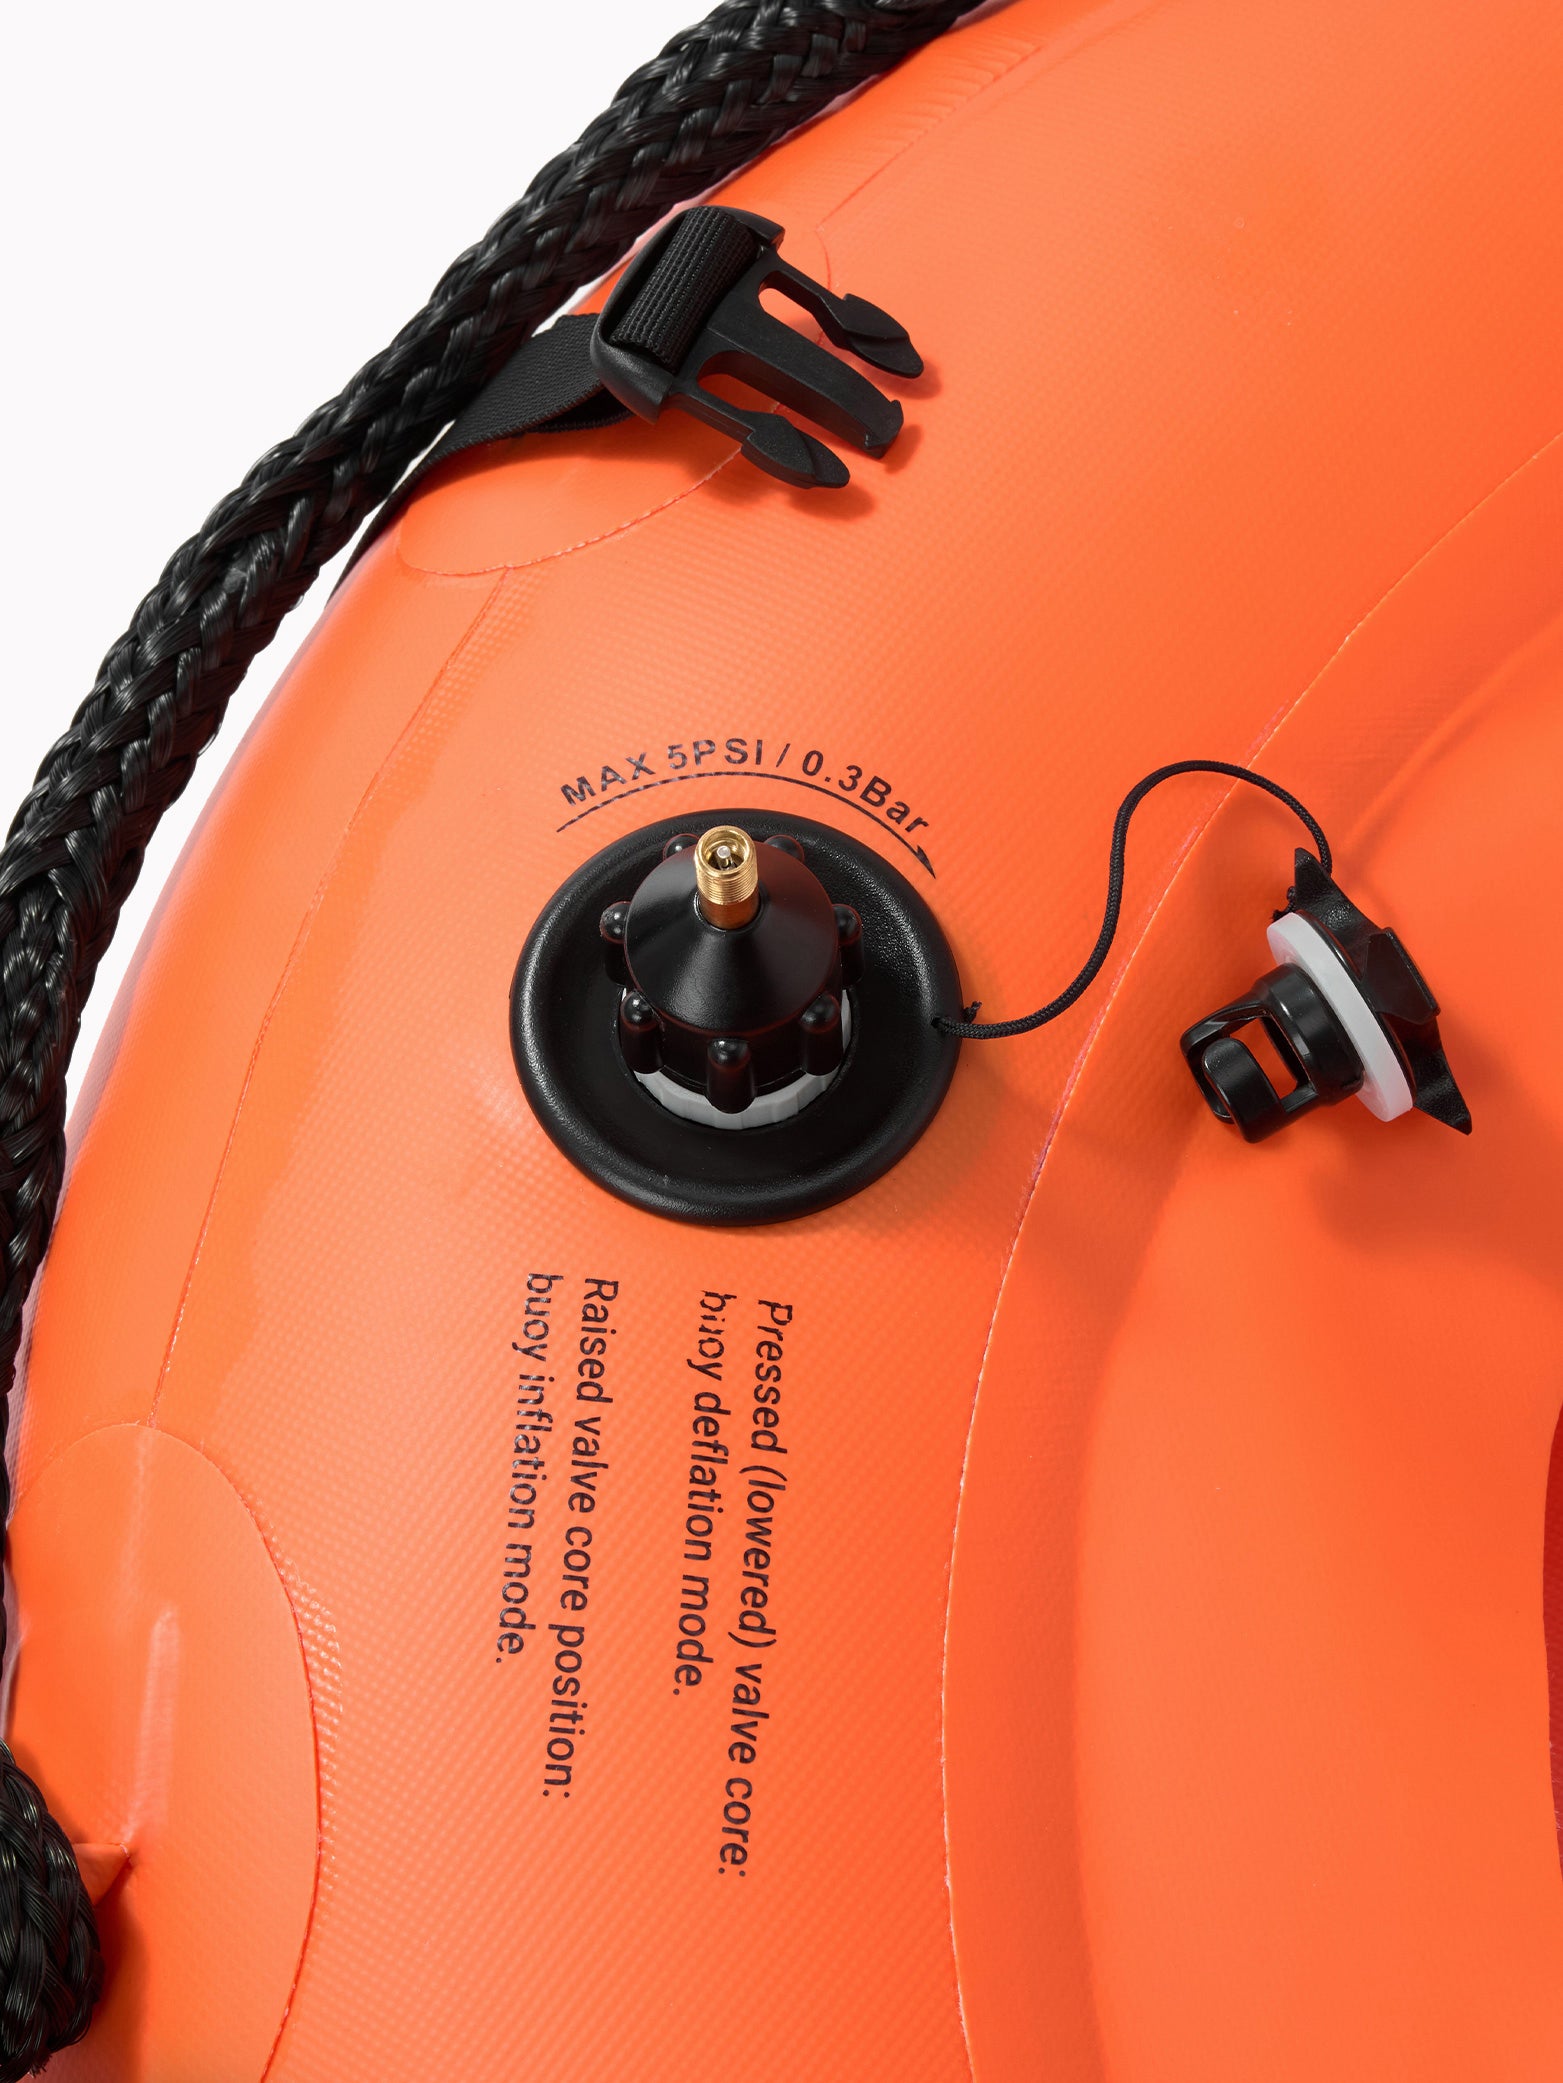
◦ Valve key
◦ Air pump adapter
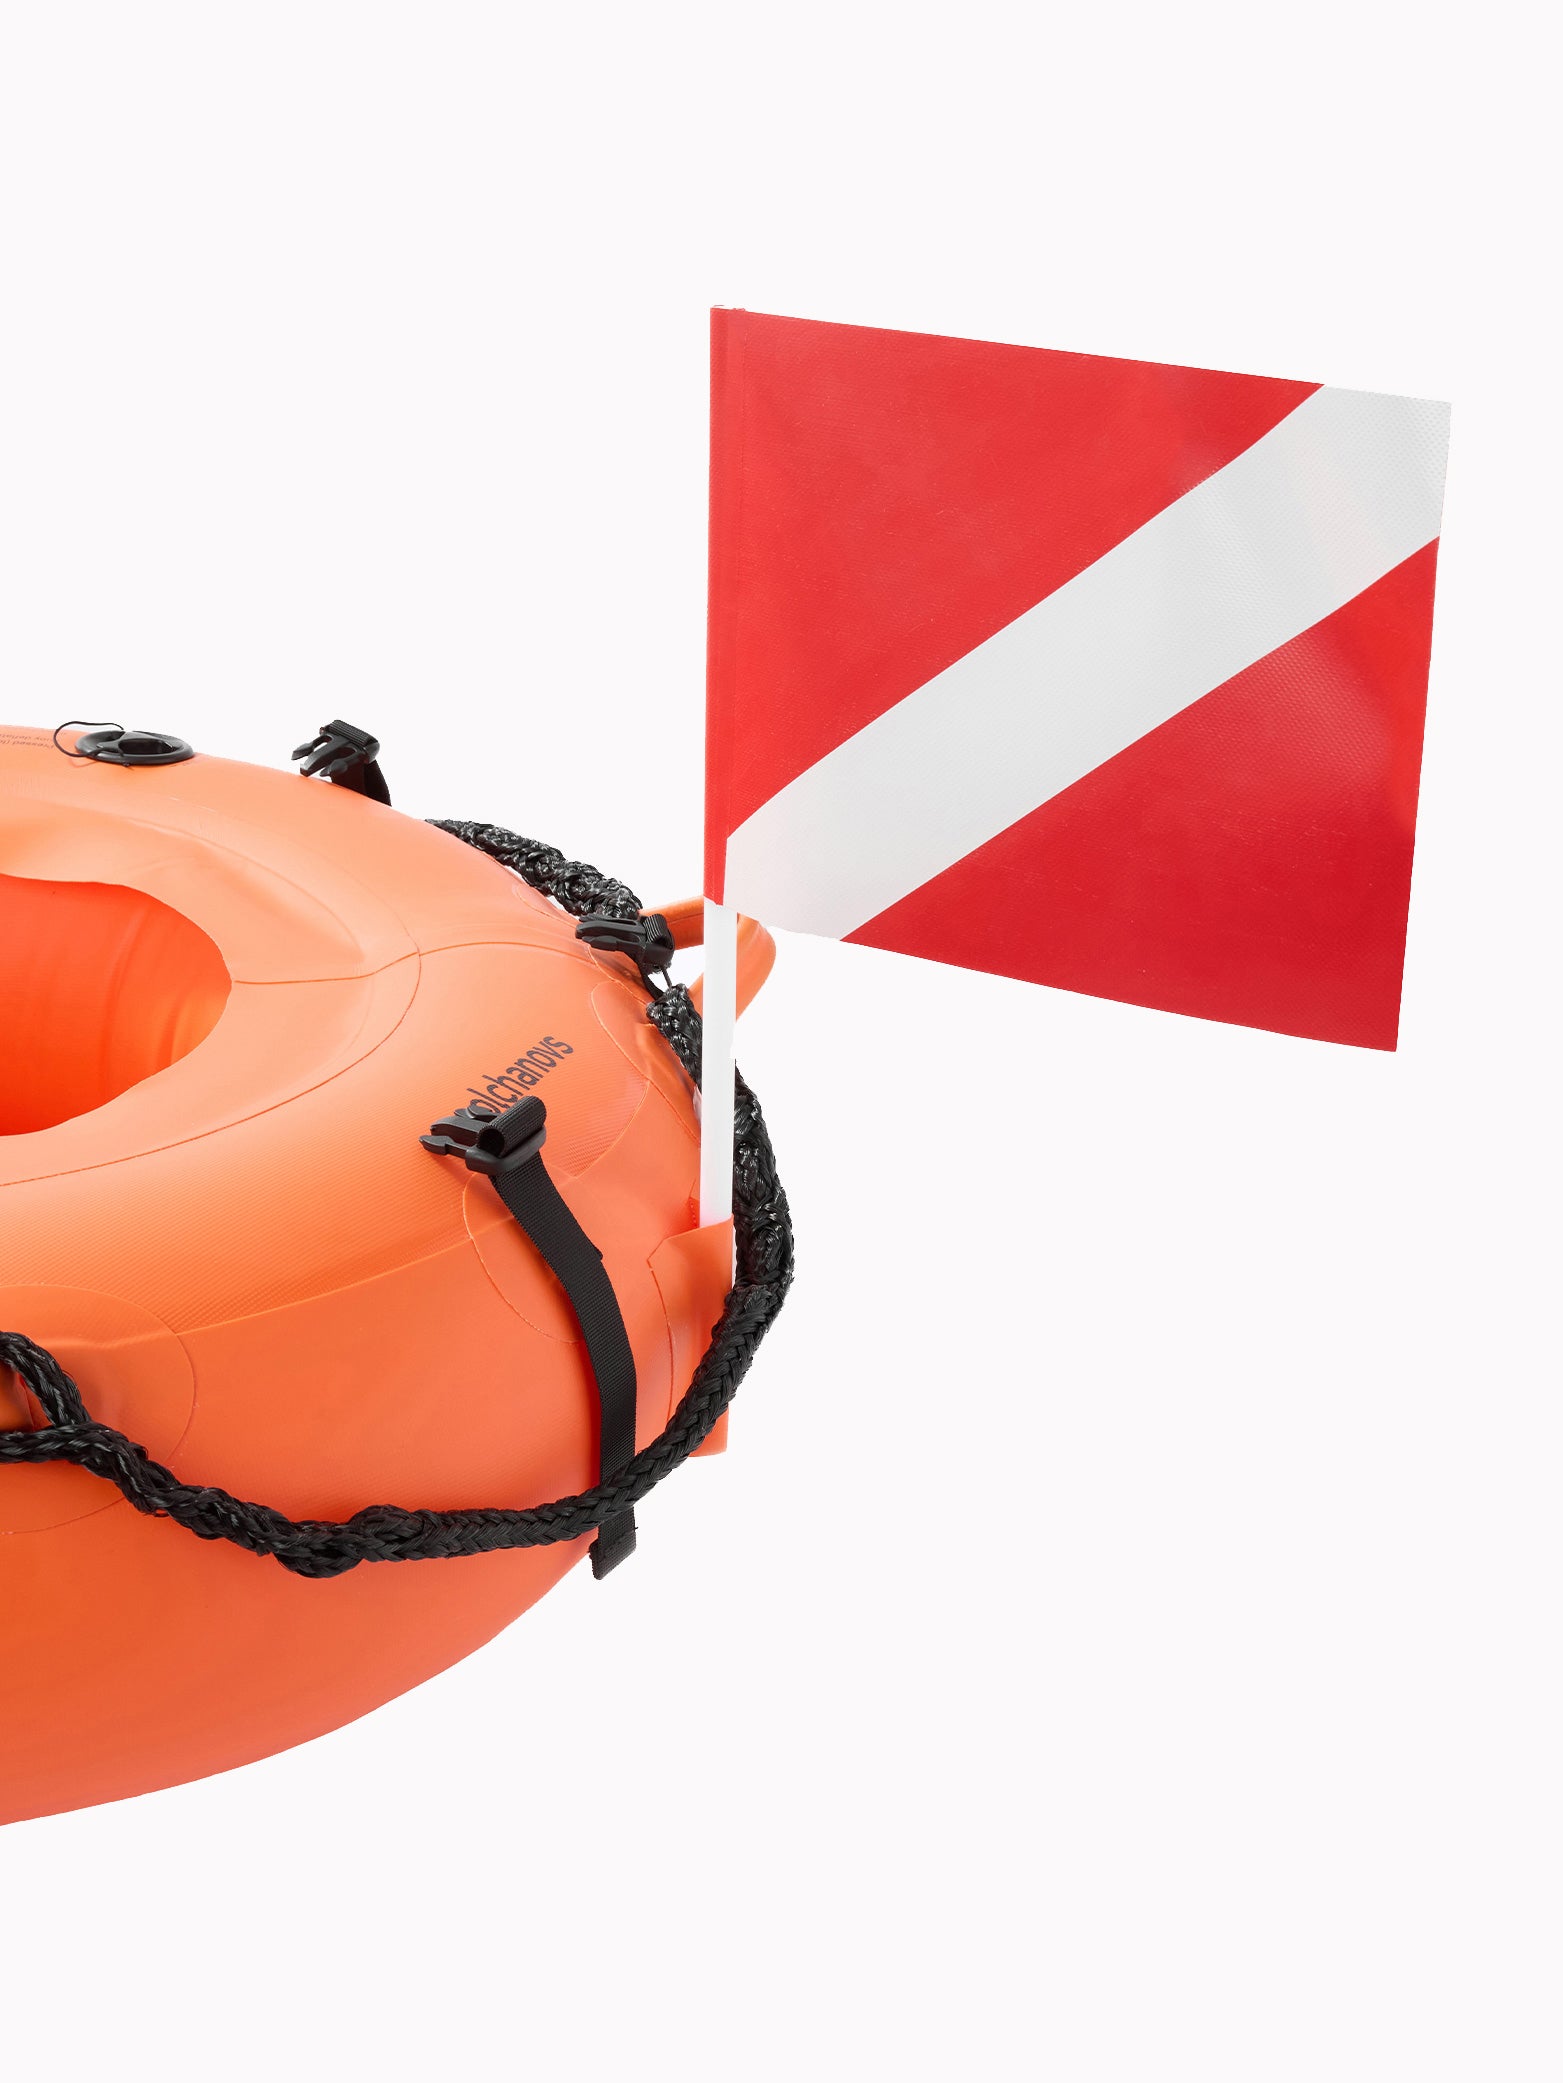
◦ Flag
◦ Repair kit:
- Glue
- Patch material
Safely set up your PRO Freediving Buoy
- Before each dive, inspect the buoy, rope, and D-ring for any visual damage.
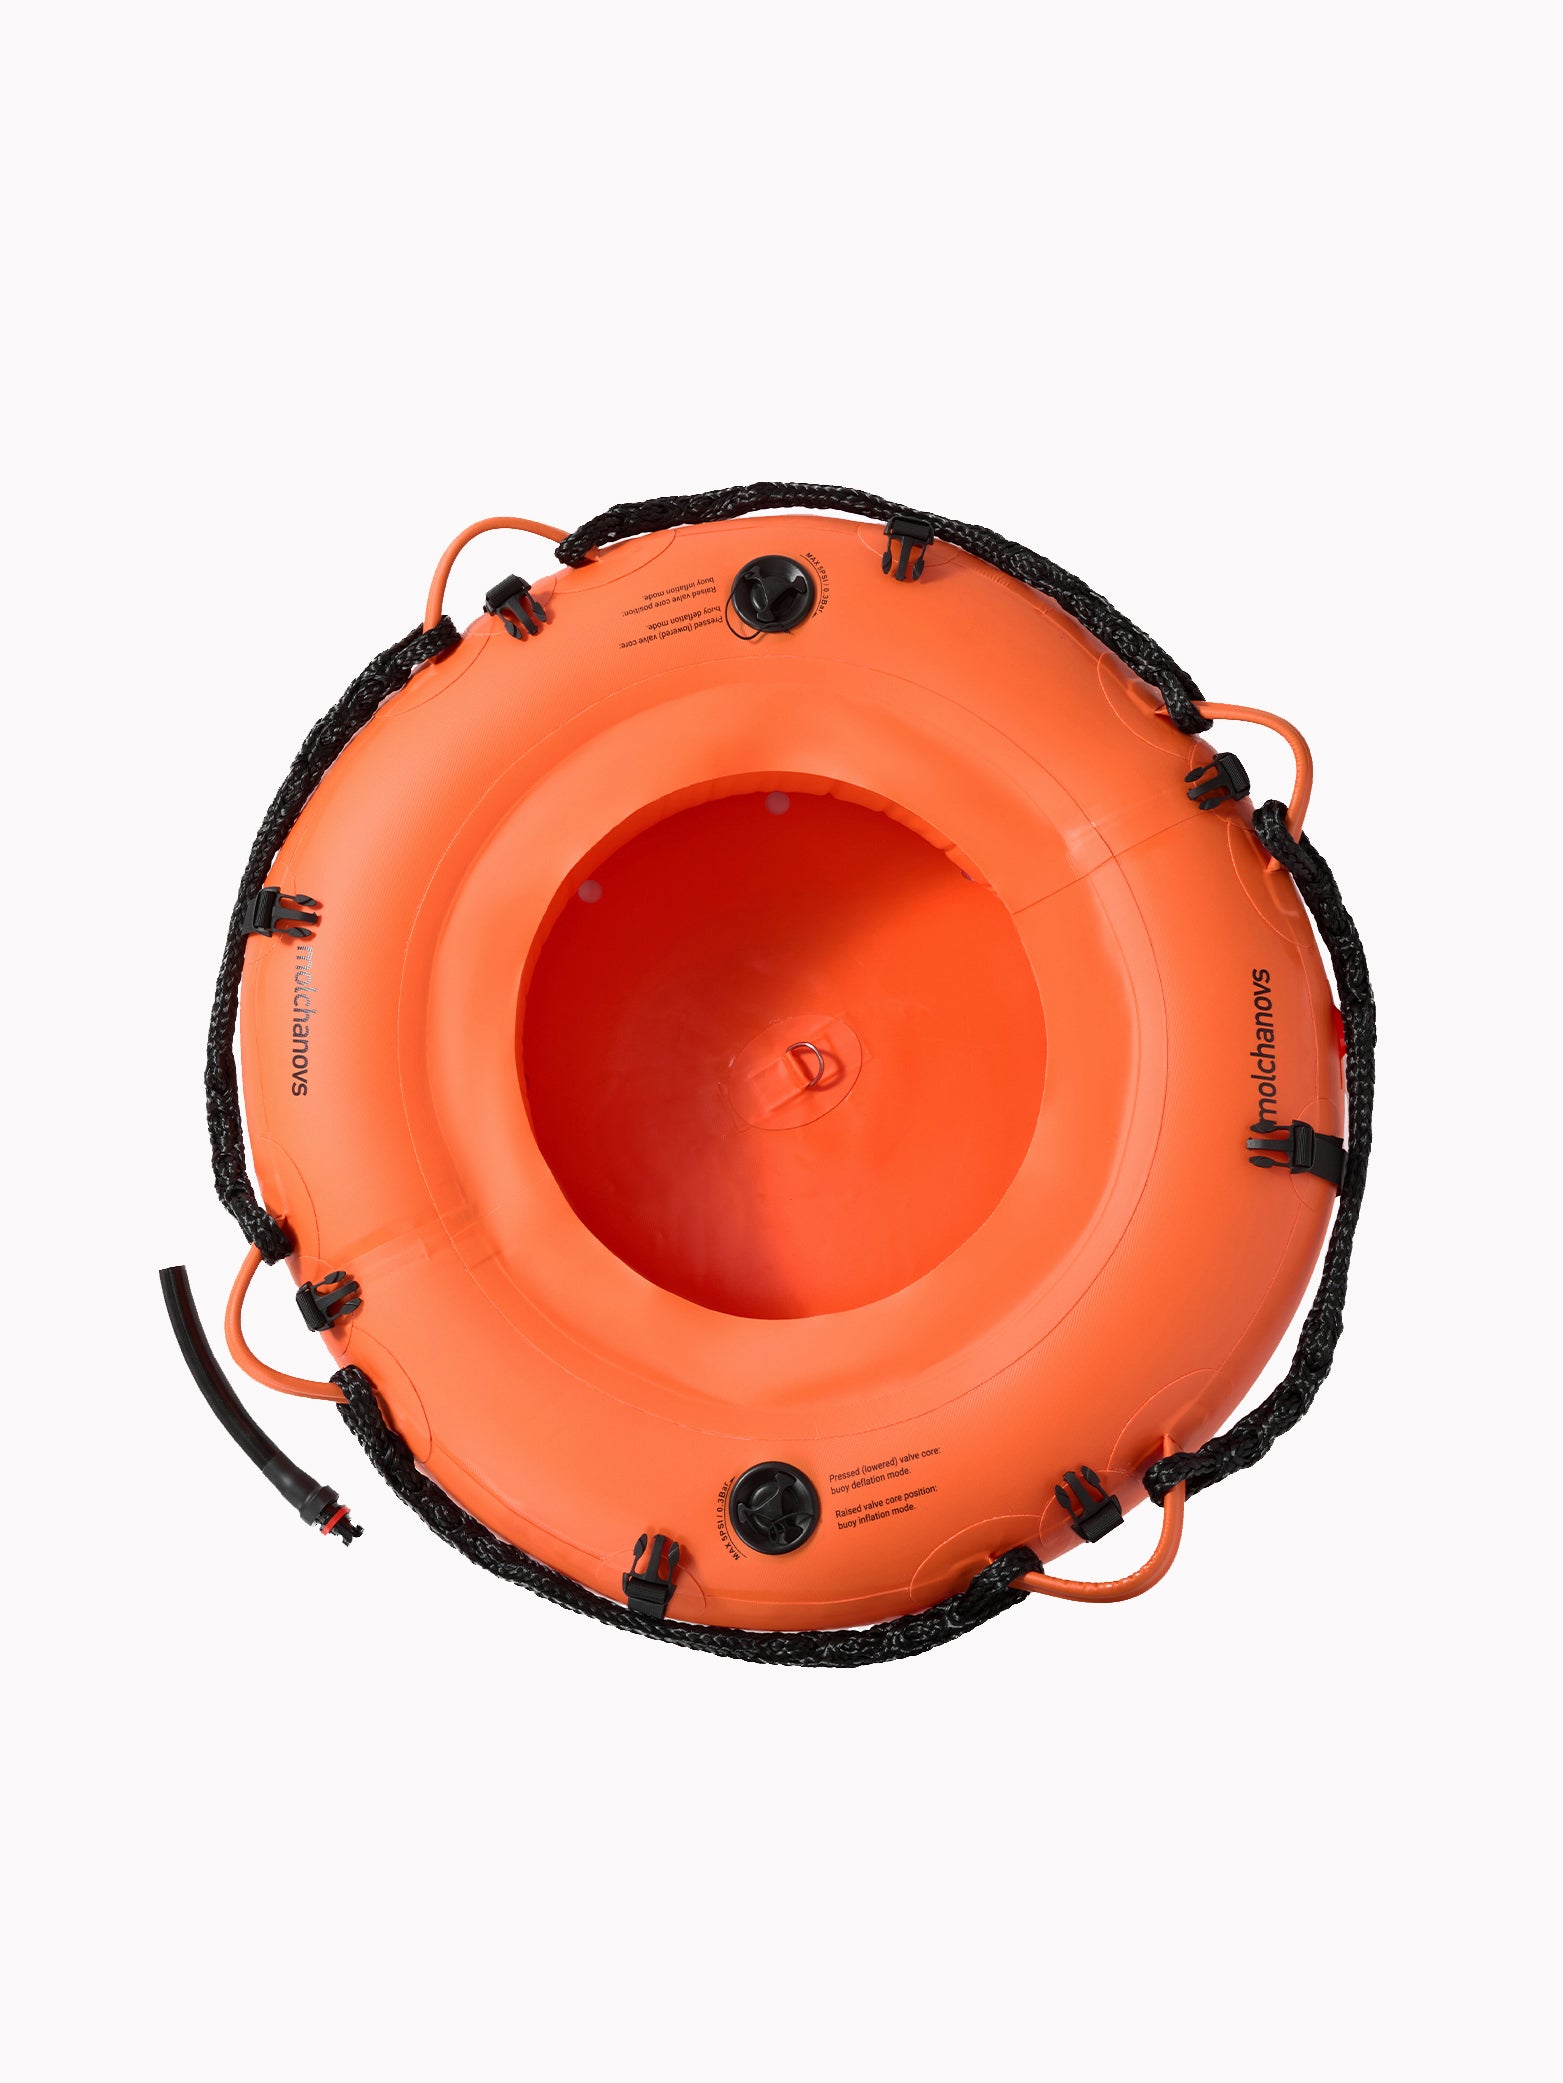
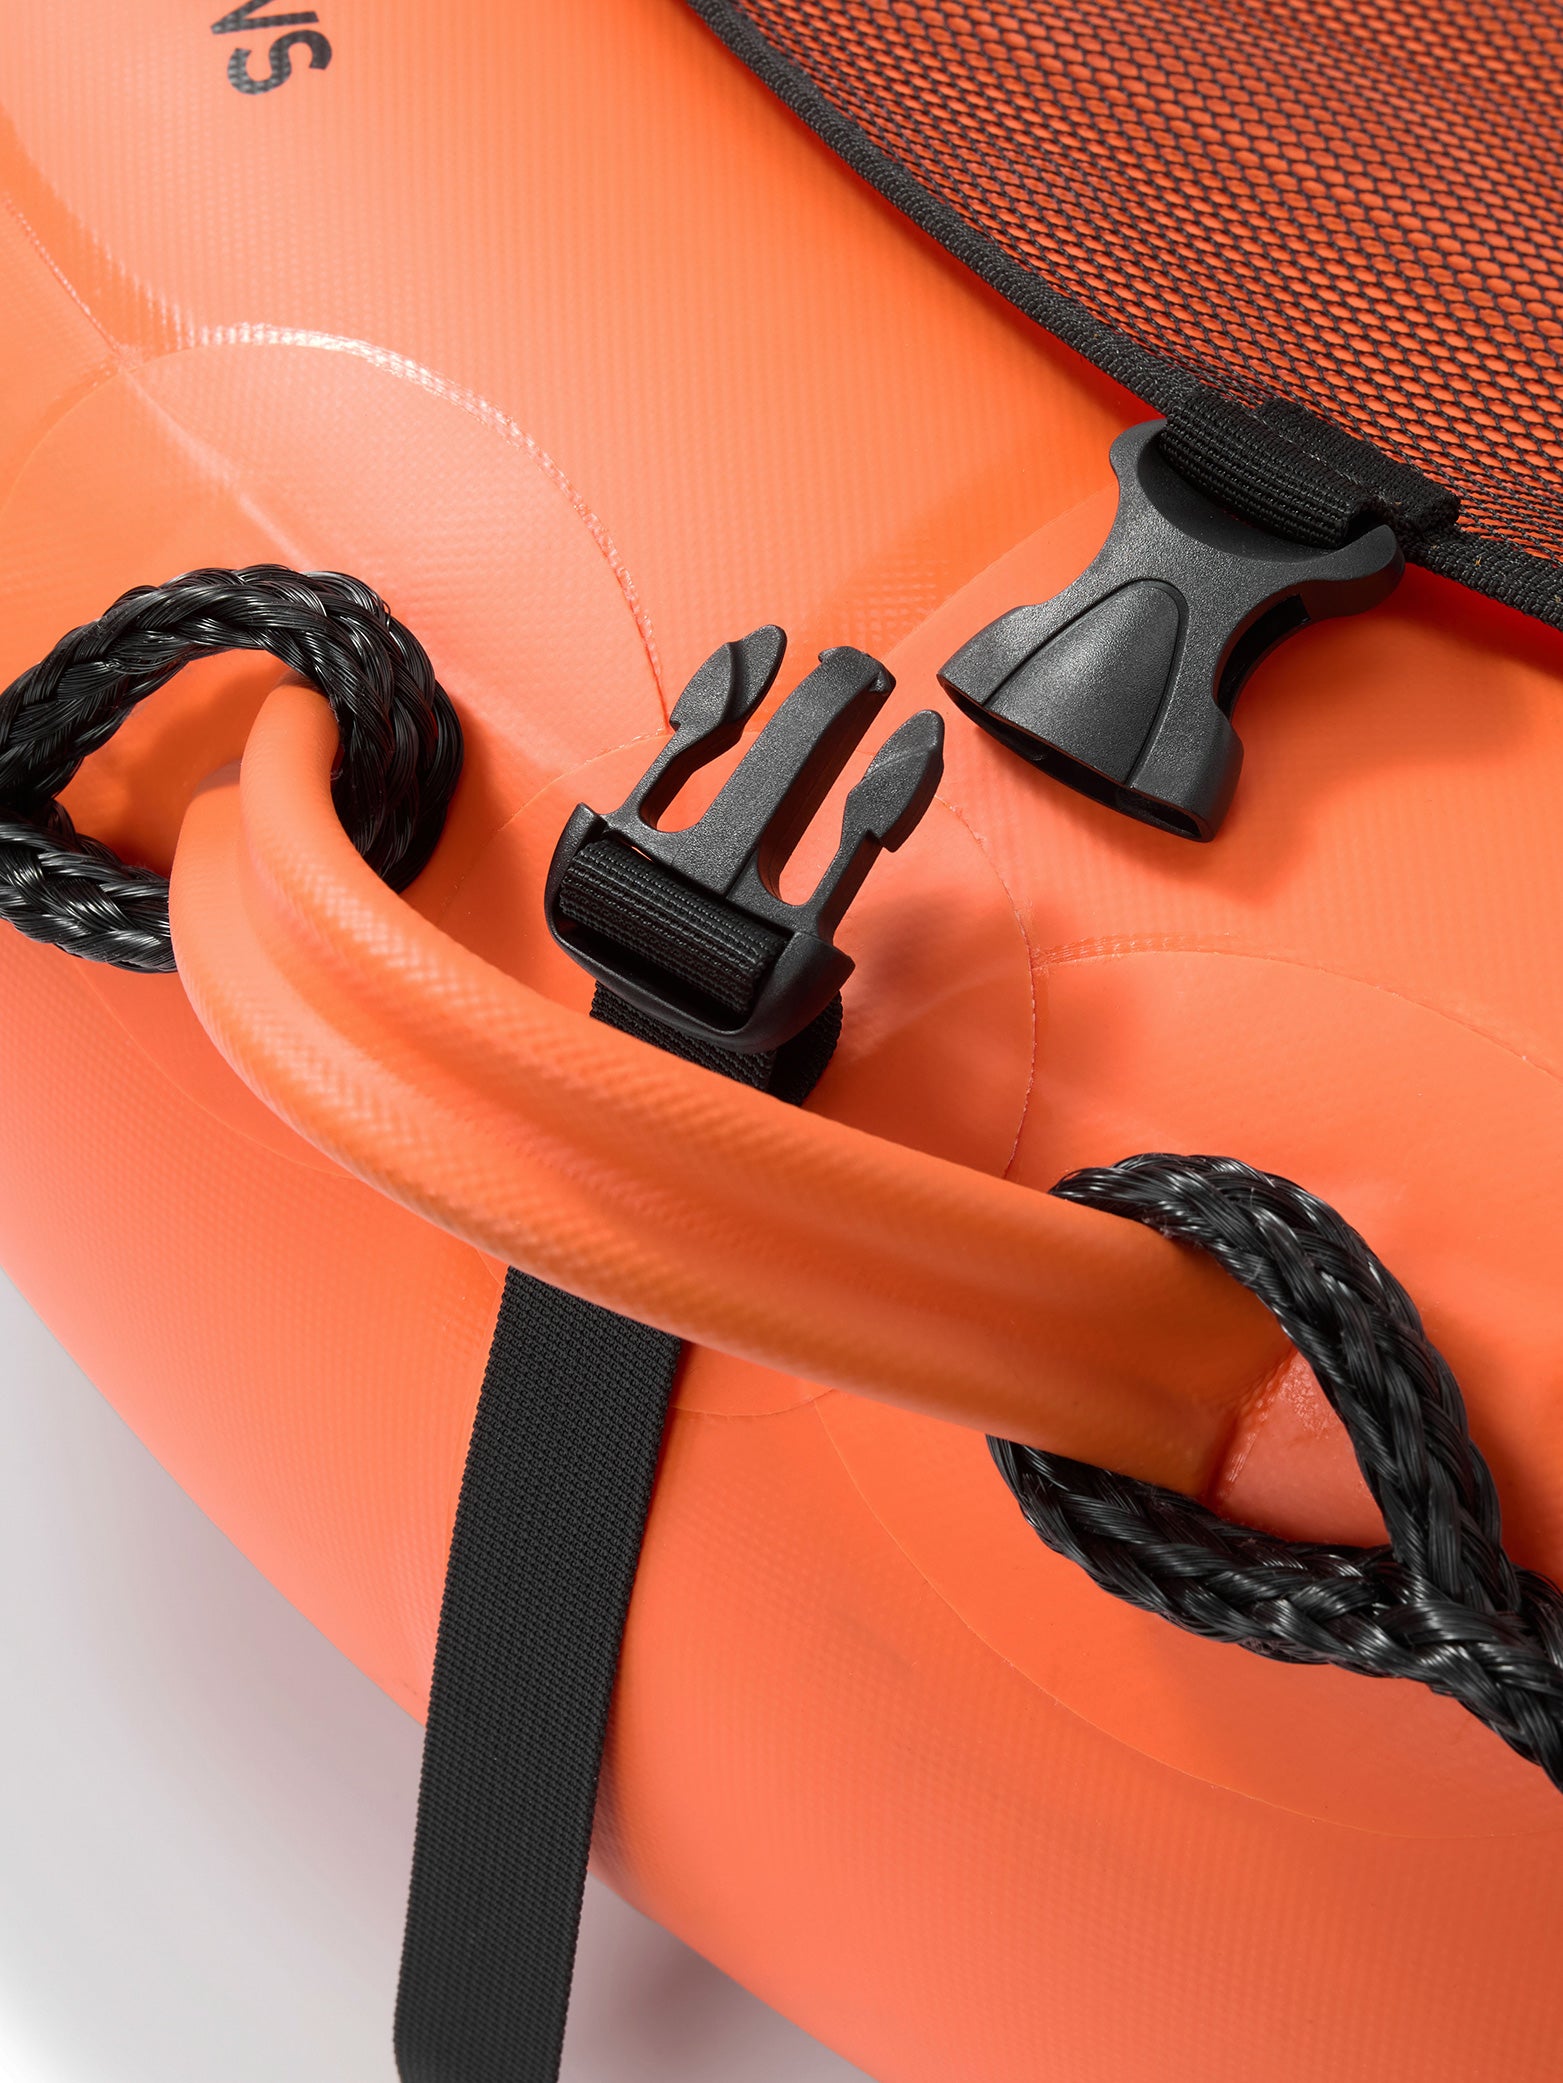
- Insert the buoy-end of the rope into the loop inside of the buoy and insert the other end of the line through the carabiner on the D-ring. If you are using a pulley system (highly recommended), you can hook the pulley system directly to a carabiner on the D-ring.
- Attach the bottom weight to the rope with an appropriate knot (e.g., water bowline) or a carabiner.
- If you are using a pulley system, skip to step 7. We highly recommended that the pulley system is attached to the buoy’s D-ring with a carabiner instead of a shorter piece of rope.
- Attach the bottom weight under the buoy with a carabiner and/or an appropriate knot.
- Attach the dive line with a clove hitch at the target depth.
- Take out the length of line needed for your target depth from the buoy.
- Carefully inspect the dive site. If there are divers underwater, wait until they swim away before slowly releasing the line with the bottom weight attached.
Important note: If you are not using a pulley system, make sure that the weight does not tangle itself with any part of the line as it is lowered. If the dive line is properly braided, this should not be a problem and you will not need to open the braid before lowering the bottom weight. The sinking bottom weight will open the braid automatically and the descent will be stopped by the clove hitch when the rope is fully unbraided.
